Food Photography backdrop party!
Photo Captured by Shauna Versloot
We find the most joy working with our hands! And we love learning and trying new things. For the Live Well Collection Cookbook, we decided to experiment with a few additional aspects of the creative process, so we went the extra mile and decided to make as much as possible from scratch. This decision included developing recipes using wholesome ingredients and also creating many of the backdrops, cutting boards, wooden boxes, and pottery plates for the photoshoots. We are also getting help from Shauna's mom and aunt to make some linen napkins as well!
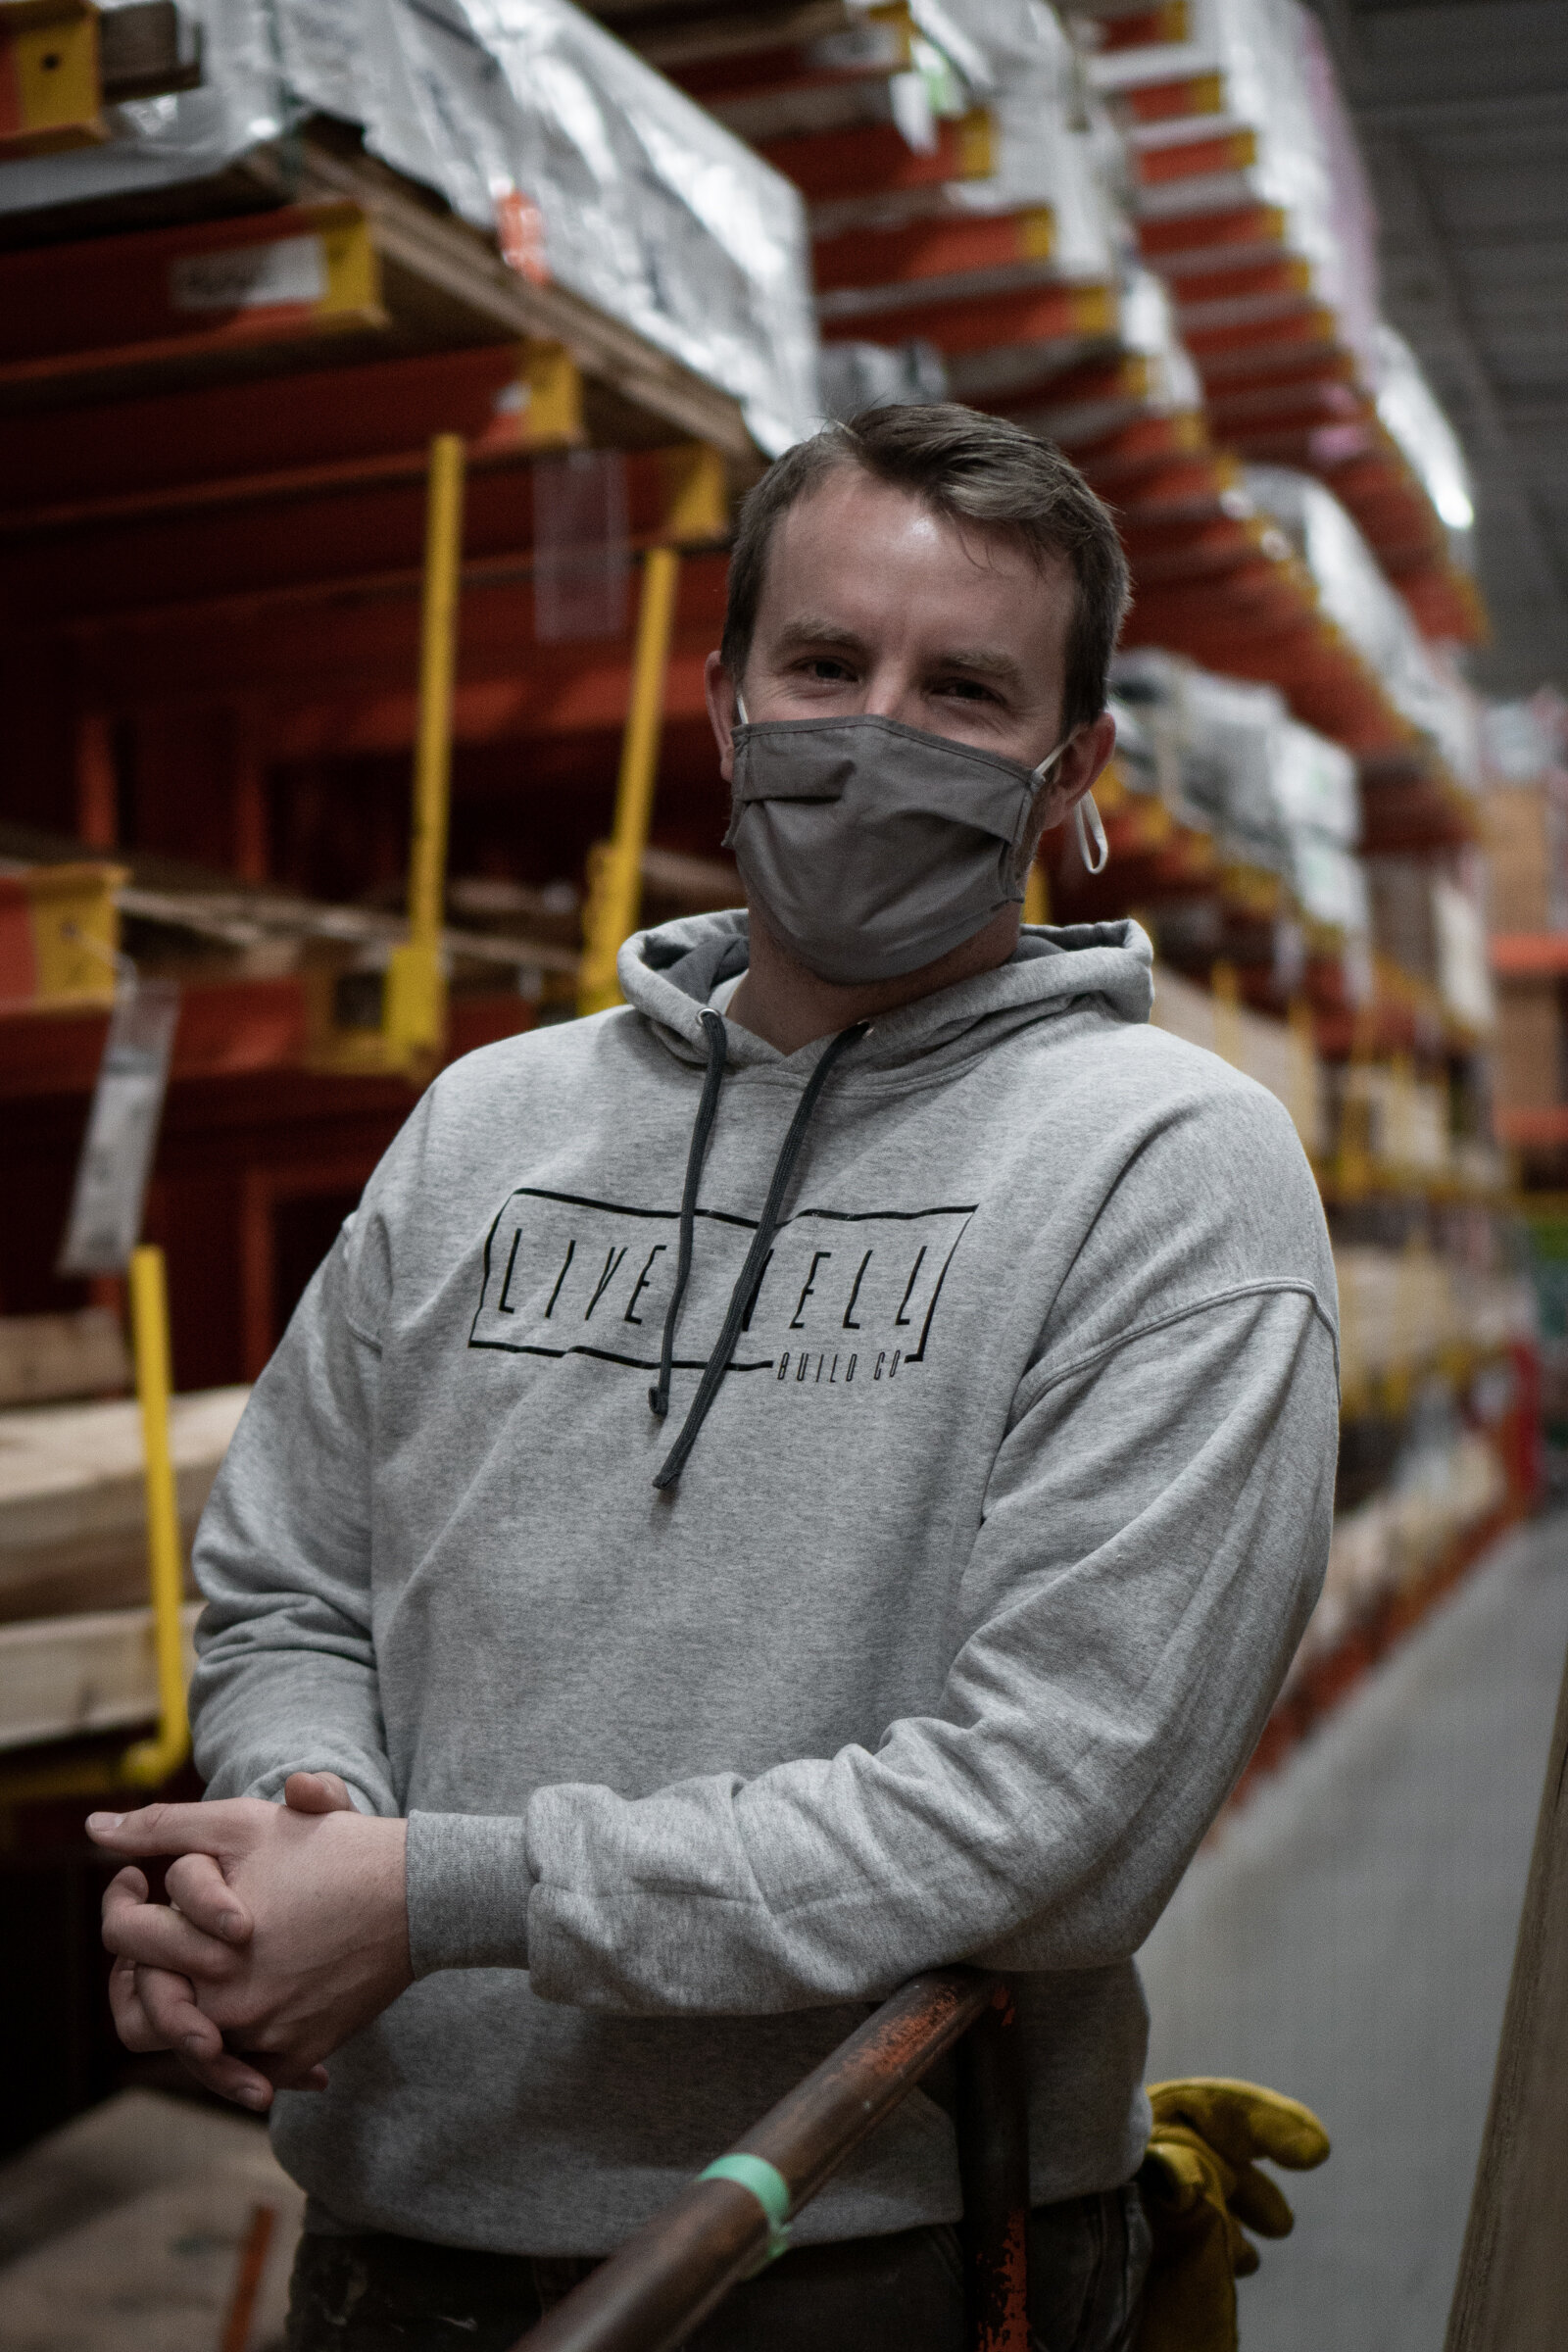
Our "makers' adventures" started with Dan Versloot, Shauna's husband and passionate woodworker. He and his business partner Jesse recently launched a new business called Live Well Build Co, where they help their clients fulfill their home improvement dreams. From fine furniture building to home renovations, sheds, decks, fences, and everything in between.
The process
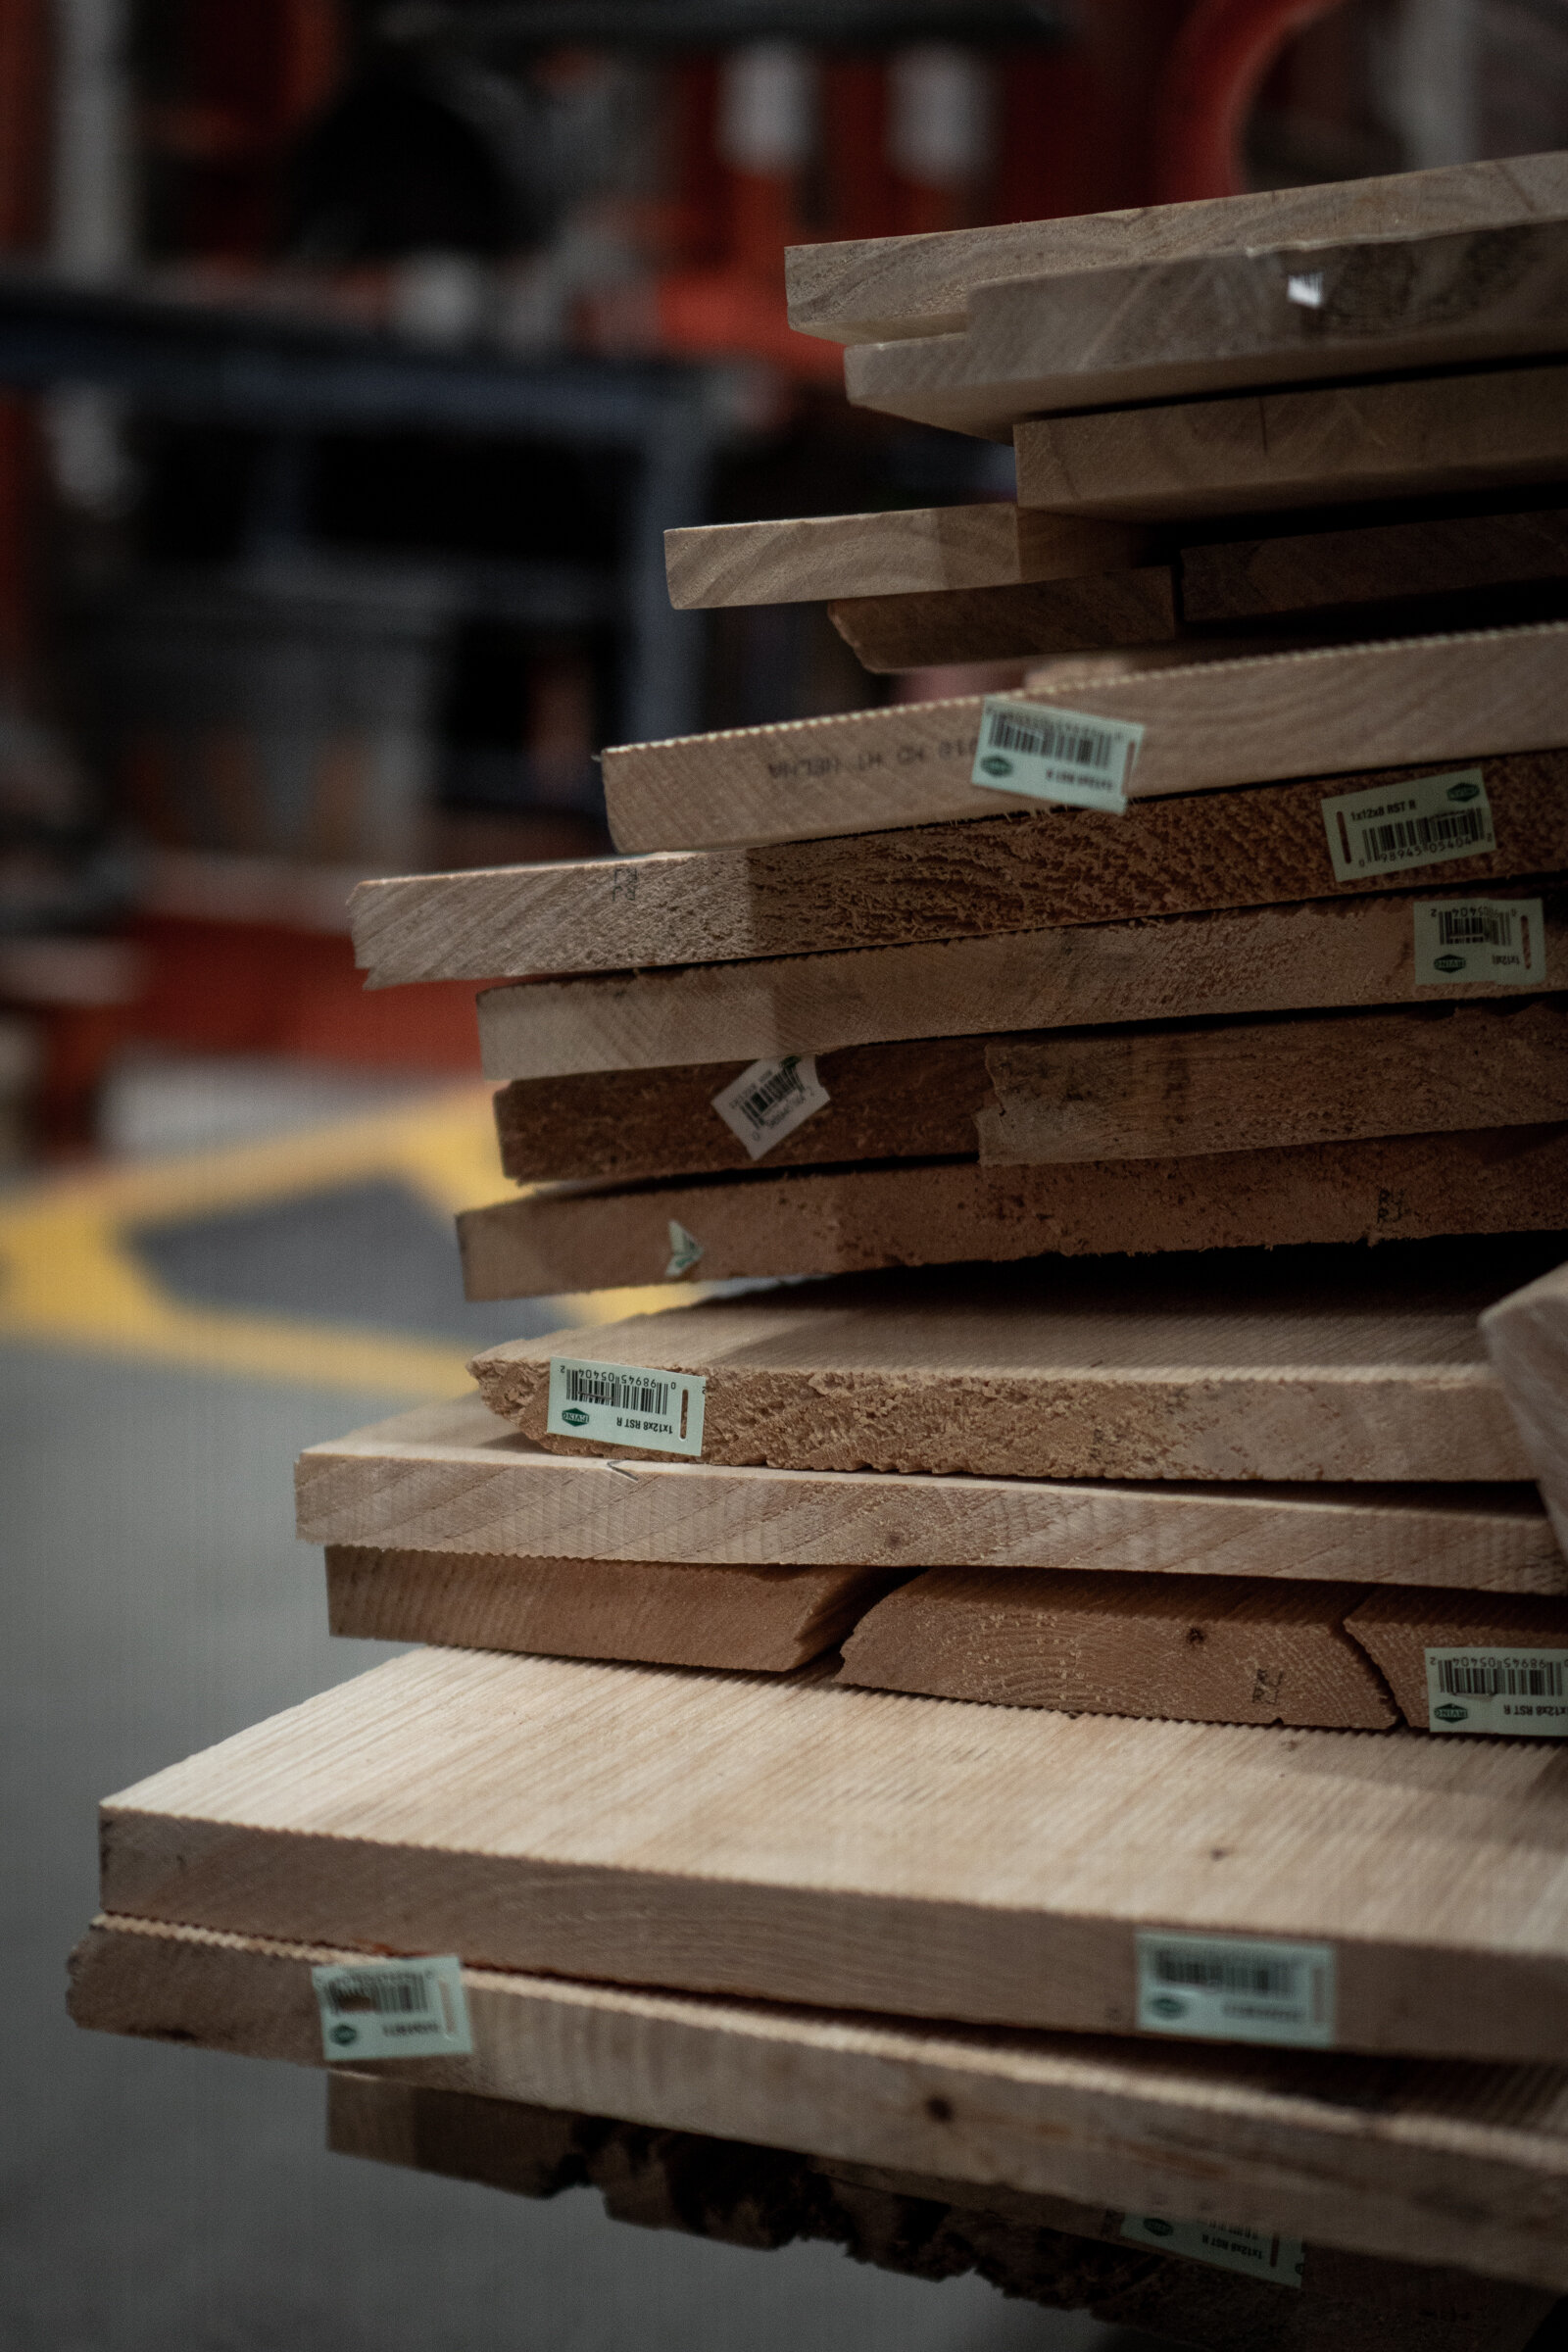
We sourced some of the wood locally at Phillmore Enterprises, where they sell a wide variety of cedar, pine, fir, maple, barn-wood boards and other reclaimed/salvaged pieces with a rough and rustic look. We also purchased 2ft x 2ft pieces of OSB at Home Deport that we'll use to create stone-like surfaces.
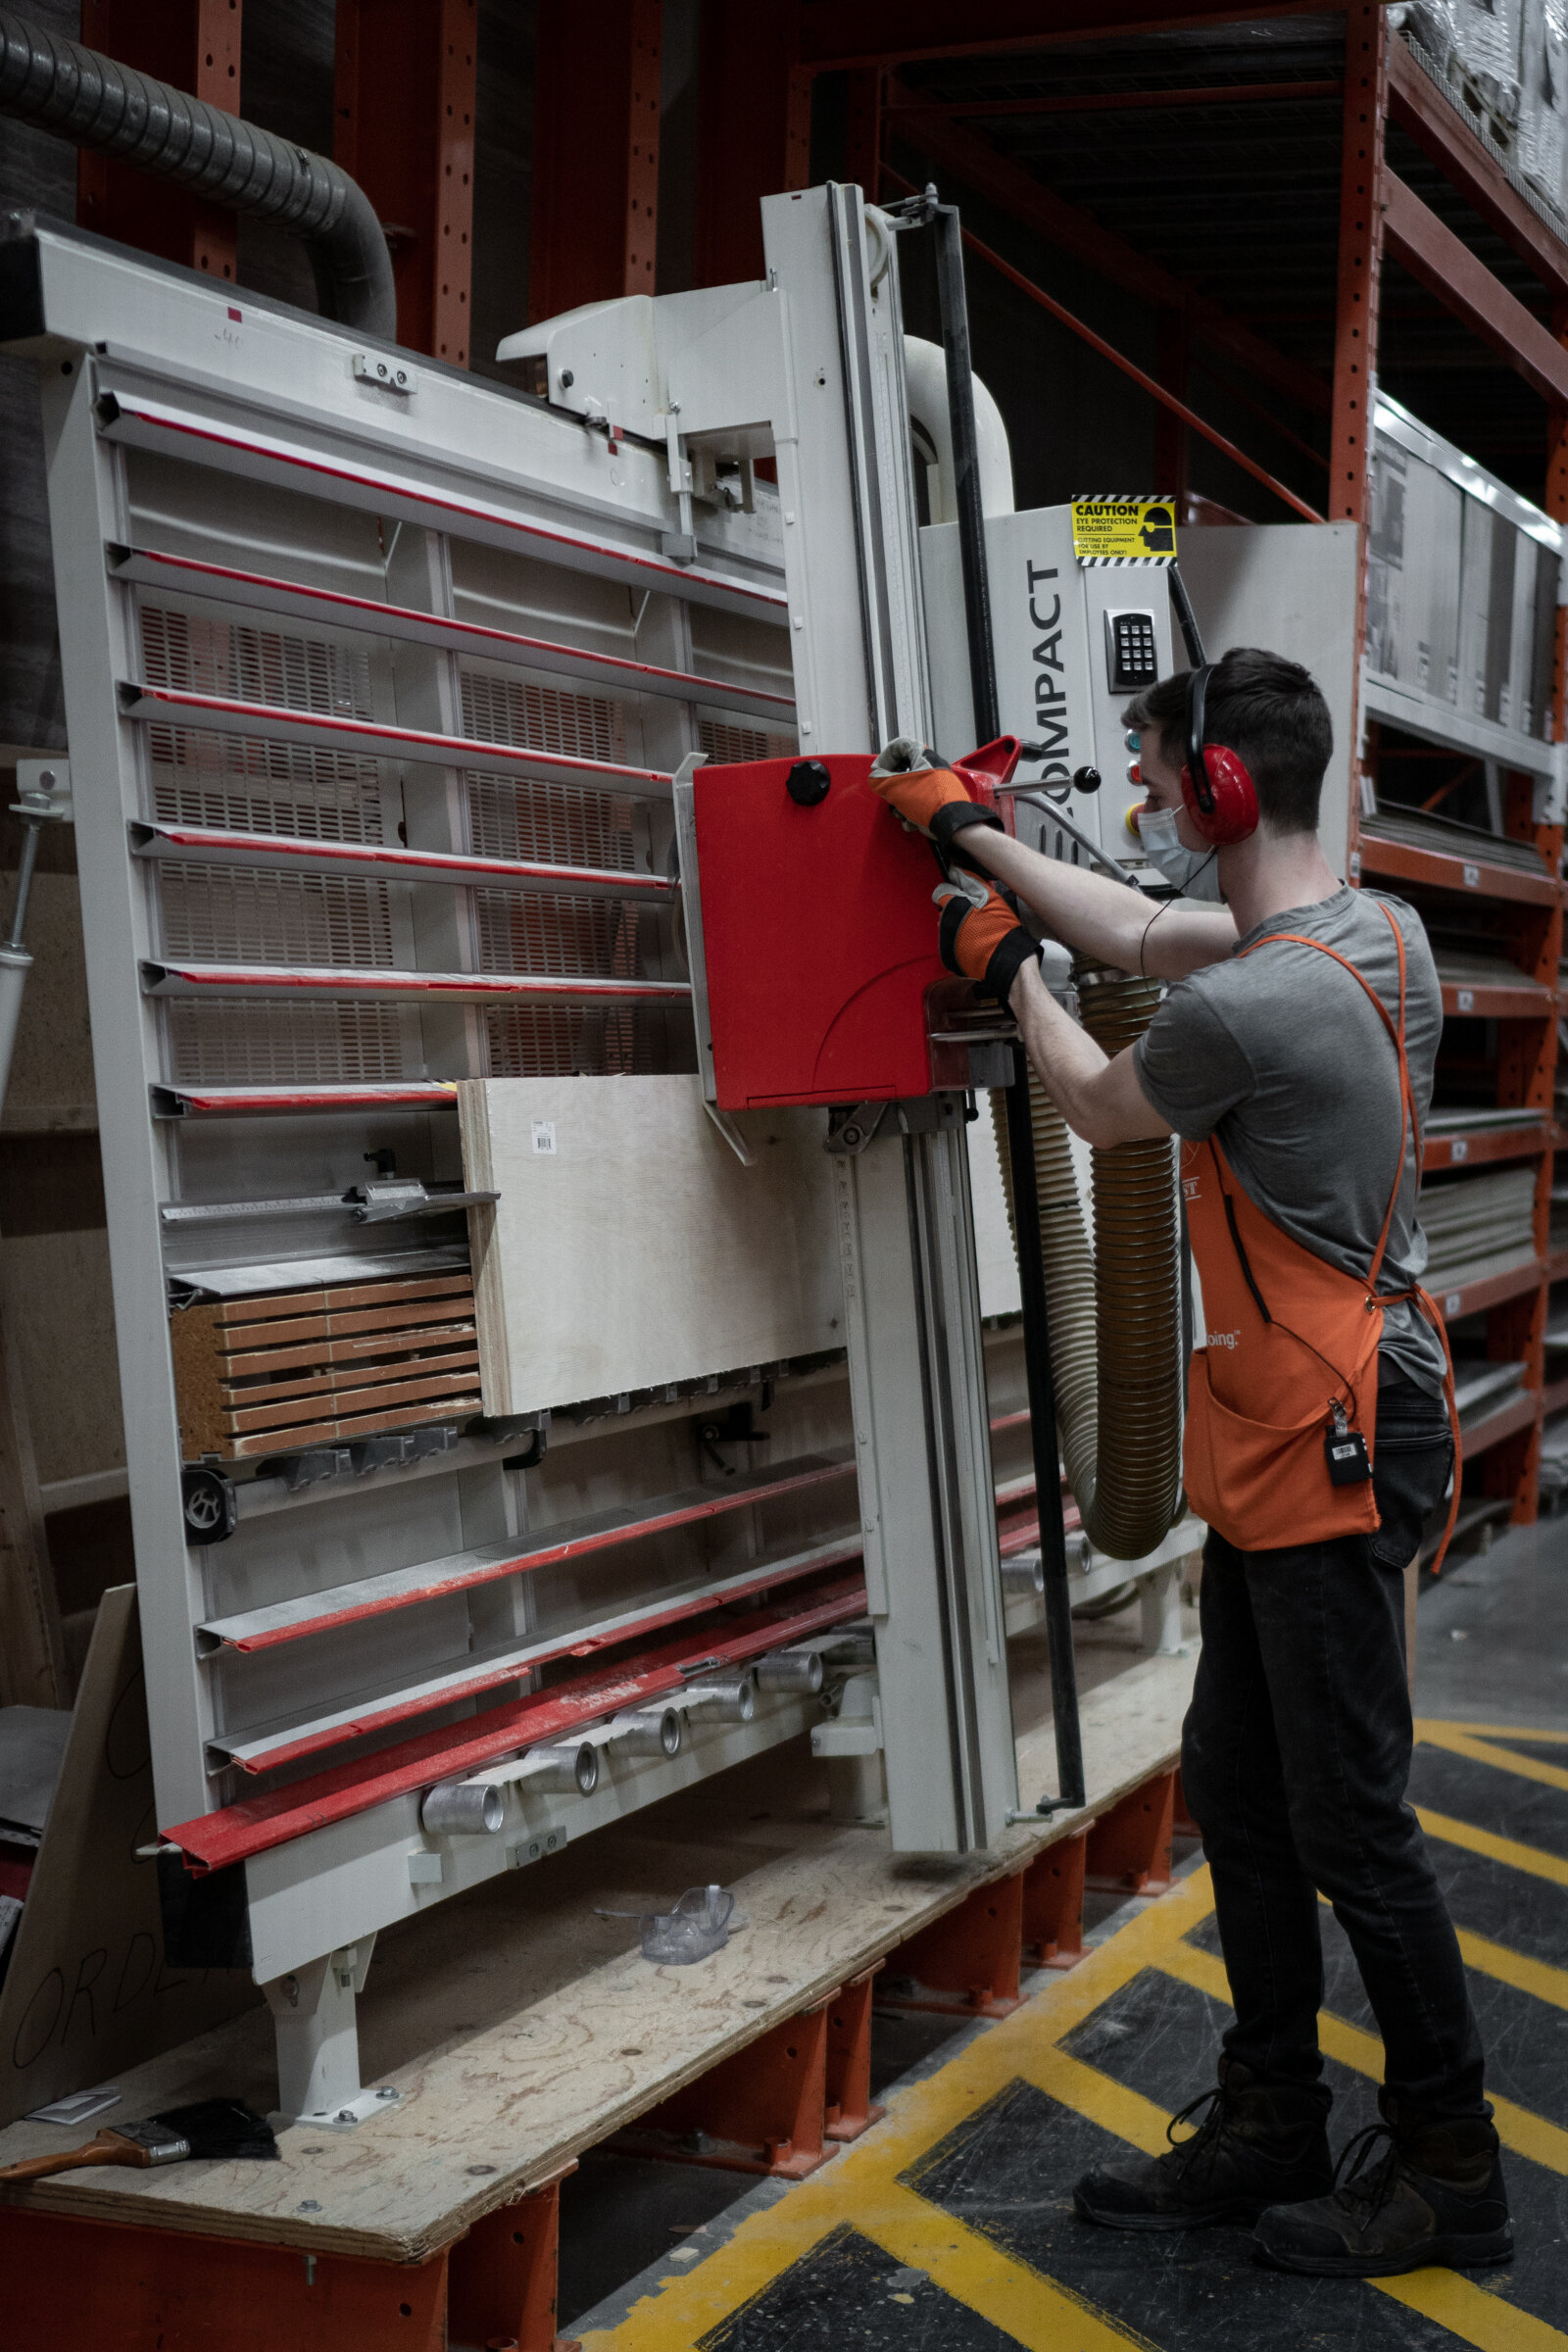
On the first day, we mainly did the shopping, drafting and planning. We managed to make some cutting boards called "Franken-boards" as they are made of several old barn-board pieces stuck together. And also some gardening boxes for our Summer photoshoots! I, Ali, had the best time learning how to use some of the tools in Dan's workshop; nothing beats big, dangerous and heavy-duty machinery!
The second and third days were all about backdrops. This part got a little easier, as we didn't need to use any big tools. If you want to try and make your own at home, you will need:
-OSB 2ft x 2ft or bigger depending on your needs. We wanted to keep them light and small.
-Sanding paper
-A pint of drywall compound
-A spatula
-An old cloth or t-shirt
-At least 2 colours of paint
First, we lightly sanded the OSB boards, cleaned out the dust and started applying the drywall paste with the spatula creating irregular patterns. The trick is to apply a thick layer and then pass over it again, applying light pressure to it, so it will drag some parts of the paste but not all. Once you cover the entire board with a first layer, you can apply a second layer on top, leaving thicker and thinner areas that will resemble stone. Remember to be gentle with it. Otherwise, you will end up with a flat and even surface, and that's what we're looking for.
We allowed the boards to dry for 3 days, but 24 hours will do the trick! Once they were thoroughly dried, we cleaned the surface again, making sure it was not dusty.
We cut the cloth into 1-inch stripes and bundled them together. That is what we used to paint, but you can use a sponge too! We painted the first layer with darker colours, covering the entire surface and not leaving any white spots. For the second and third layer is where you can be more creative. Without letting the base layer dry too much, we started applying the main colours. Here you will have to work with less paint to create thin layers and leave some see-through spots. By not letting the base layer dry, you will allow it to blend with the other colours nicely! You can add a third colour if you like; it could be a lighter tone o accents of a different colour.
The surfaces were super easy and fun to make, and they will look fantastic with the food! This is something that anyone can make at home to add some extra glow to any food photos, so you'll be super proud about not only the food you make but also the photos you take before eating it!
Join us behind the scenes through our Youtube channel, blog and newsletter, we're doing our best to capture everything about the creative process through video, photos and writing. And we'd love to read your comments and feedback along the way!


